Flaskerizer
Bootstrap templates are a fast way to a get very dynamic website up and running, but these templates typically don't work "out of the box" with the python web framework Flask and require some tedious directory building and link modification before being functional with Flask. This is especially true if the Bootstrap templates are for large multi-page websites.
The Flaskerizer automates the necessary directory building and link creation needed to make Bootstrap templates work "out of the box" with Flask. The Flaskerizer also automatically creates the necessary files with the appropriate routes and basic error handling needed to serve the Bootstrap template as a Flask app.
The Flaskerizer takes a Bootstrap template that looks like this "out of the box" with Flask:
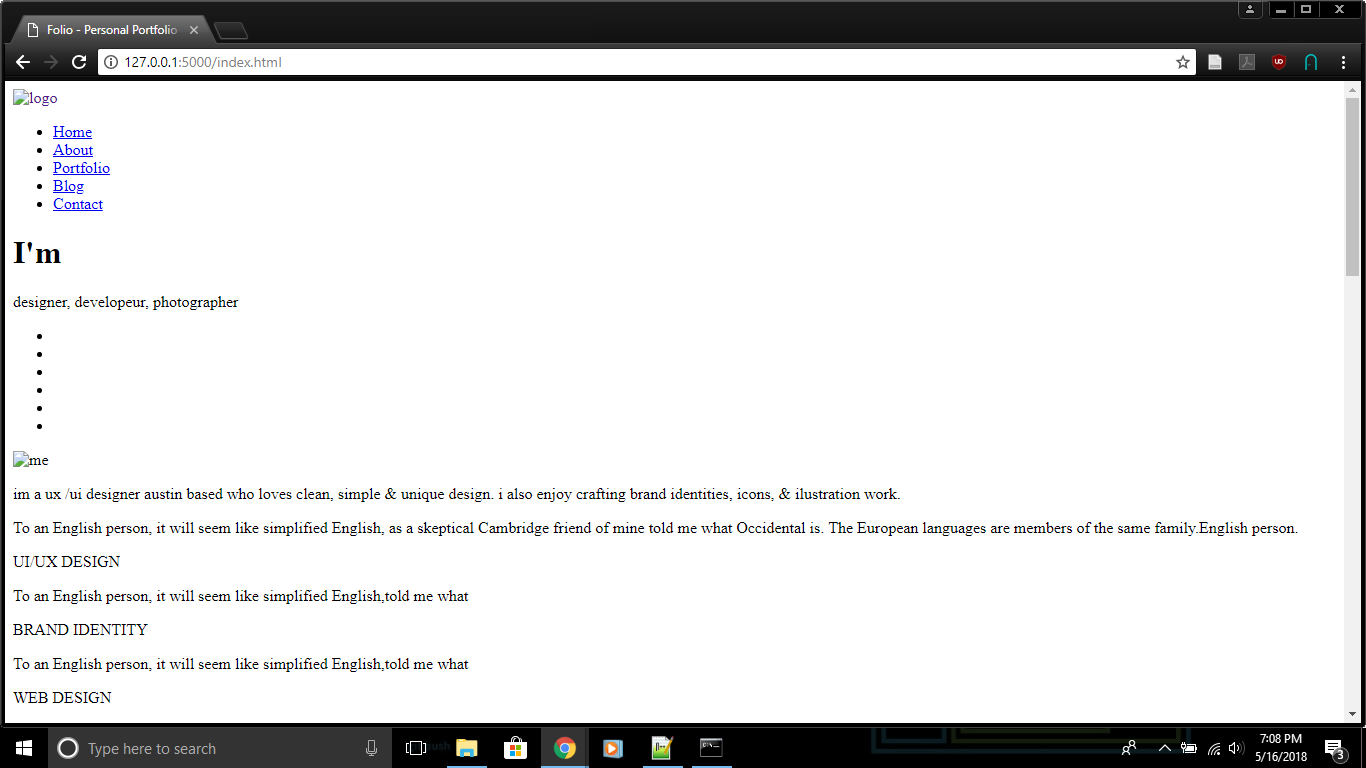
and converts it to something that looks like this "out of the box" with Flask:

Dependencies
Flask: 0.12.1 or higher
Usage case/Quickstart
- Install Flaskerizer from PyPI.
$pip install flaskerizer
- Run Flaskerizer as a command line tool.
$flaskerizer --top-level-path 'Path to the top level folder of the Bootstrap template' --templates-path 'Path to the folder containing the HTML files of the Bootstrap template' --app-path 'Path of the destination folder for your Flask app'
Command Line Arguments
Flaskerizer is run by command line arguments. After using pip to install Flaskerizer, command line arguments are always preceded by:
$flaskerizer
Required Arguments:
| Command | Description | Default Value |
|---|---|---|
| --top-level-path | Path to the top level folder of the unzipped Bootstrap template | None |
| --templates-path | Path to the folder containing the HTML files of the Bootstrap template | None |
| --app-path | Path of the destination folder for your Flask app | None |
Optional Arguments:
| Command | Description | Default Value |
|---|---|---|
| --app-name | Flask app name (note: cannot be named 'app') | 'Flaskerized_app' |
| --large-app-structure | Creates a large structure package based Flask app | None |
| --no-large-app-structure | Creates a small structure module based Flask app | None |
Detailed Setup and Operation Example
-
Download your favorite Bootstrap template. https://startbootstrap.com/, https://bootstrapmade.com/, and https://colorlib.com/wp/free-bootstrap-templates/ are good places to look if you don't already have one. It does not matter where you get if from Flaskerizer is designed to be source agnostic.
-
If the Bootstrap template is downloaded as a zipped file you will need to unzip the Bootstrap template.
-
Open a terminal and install Flaskerizer:
$pip install flaskerizer
- Run Flaskerizer as a command line tool using the arguments specified in the previous sections of the readme.
$flaskerizer --top-level-path 'Path to the top level folder of the unzipped Bootstrap template' --templates-path 'Path to the folder containing the HTML files of the Bootstrap template' --app-path 'Path of the destination folder for your Flask app' --no-large-app-structure --app-name my_app
-
--top-level-pathshould always be set to the full path of the top level folder of the Bootstrap template (i.e. the folder that appears when you first unzip the Bootstrap template). -
--templates-pathshould always be set to the full path of the folder containing the HTML files of the Bootstrap template you downloaded. Note that there may be multiple folders that contain HTML files, generally you want to set the 'templates_path' value equal to the path of the folder with the most HTML files in it.
- After running flaskerizer, navigate to the directory you indicated with the
--app-pathargument as the destination of your newly written Flask app, clear your browser's cache, open a terminal, and enter:
$python my_app/my_app.py
on Linux or:
$python my_app\my_app.py
on Windows
in the terminal to launch the newly made Flask app (this may vary by environment, i.e. some users will enter python3 instead of python).
-
View your website by opening the browser to your local address on port 5000 (i.e. http://127.0.0.1:5000 / http://0.0.0.0:5000) , Note: may have to enter http://127.0.0.1:5000/index.html / http://0.0.0.0:5000/index.html to route the website homepage. NOTE : You may need to clear your browser's cache to view the website properly.
-
You may get still get a few 404 errors for broken links that you might need to fix manually, the Flaskerizer is early in development and not perfect yet, but overall it seems to be doing a good job regardless of the Bootstrap template source. The best things you can do if you get broken link errors is to raise an issue with us and specify the template you are using and the error you are getting so that we can try to fix it. You can also email me at [email protected].
Selection of large or small Flask application structure (optional)
Using the command line argument --no-large-app-structure, results in the creation of a small structure module based Flask app after running steps 1-4 under Detailed Setup and Operation Example with the creation of a basic module that contains both the Flask app object and all the routes:
.
├── {{app-name}}.py    # Module with the Flask app and routes
├──static
│   ├── css
│   ├── fonts
│   ├── img
│   └── js
└── templates
By using the command line argument --large-app-structure you are choosing to create a large structure package based Flask app as described in the Flask documentation
@ http://flask.pocoo.org/docs/1.0/patterns/packages/ :
.
├──{{app-name}}     # Package folder
│   ├── __init__.py    # File containing the Flask app object
│   ├── routes.py      # File with the routes
│   ├──static
│   │   ├── css
│   │   ├── fonts
│   │   ├── img
│   │   └── js
│   └── templates
└── setup.py
Creating and launching the large structure Flask app is a bit different, here is an example:
-
Complete steps 1 and 3 under Detailed Setup and Operation Example.
-
Open the terminal and enter:
$flaskerizer --top-level-path 'Path to the top level folder of the unzipped Bootstrap template' --templates-path 'Path to the folder containing the HTML files of the Bootstrap template' --app-path 'Path of the destination folder for your Flask app' --large-app-structure --app-name my_app
- After running flaskerizer, navigate to the directory you indicated with the
--app-pathargument as the destination of your newly written Flask app, open a terminal, and enter:
$set FLASK_APP=my_app\my_app\__init__.py
on Windows or
$export FLASK_APP=my_app/my_app/__init__.py
on Linux.
-
Enter
$flask run -
View your website by opening the browser to your local address on port 5000 (i.e. http://127.0.0.1:5000 / http://0.0.0.0:5000) , Note: may have to enter http://127.0.0.1:5000/index.html / http://0.0.0.0:5000/index.html to route the website homepage. NOTE : You may need to clear your browser's cache to view the website properly.
How it works
The Flaskerizer has two main classes:
-
StructureDirectory() -
WriteApp()
The StructureDirectory class
The StructureDirectory class makes the typical Flask project folder structure in the Flaskerized_app directory. This includes making a 'static' folder that will contain all the front end files from the Bootstrap template (css, javascript, etc.) and a 'templates' folder that will contain all the HTML files from the Bootstrap template. The StructureDirectory class takes both the full path to Bootstrap template HTML files (templates_path) and the full path to the top level directory of the Bootstrap template (top_level_path) as arguments. HTML files are copied from the Bootstrap template to the Flask project folder via the explicitly stated templates_path. Methods of the StructureDirectory class search the entire Bootstrap template directory tree for any files that belong in the 'static' folder based on their extensions (.js, .css, .img, etc). Any files that belong in the 'static' folder of the Flask project are then migrated there. The StructureDirectory class also has methods that parse all migrated files for links that refer to original folder structure of the Bootstrap template and fixes them to reflect the new structure of the Flask project.
The WriteApp class
Methods of the WriteApp class automatically write a python script 'app.py' with the necessary instructions to launch a Flask app of the Bootstrap template. The methods write the import statements, instantiate the 'app' object from the Flask class, and write a main loop to run the app. These methods also detect the HTML files in the 'templates' folder of the Flask project and write the corresponding routes to these HTML files. If any of the HTML files are named for an HTTP status code, the methods generate an error handling route for that file. This assumes that any HTML file with an HTTP status code in it's name reflects an error, which is usually true.


