fluidnet_cxx
Accelerating Fluid Simulation with Convolutional Neural Networks. A PyTorch/ATen Implementation.
This repository is based on the paper, Accelerating Eulerian Fluid Simulation With Convolutional Networks by Jonathan Tompson, Kristofer Schlachter, Pablo Sprechmann, Ken Perlin on the accelation of fluid simulations by embedding a neural network in an existing solver for pressure prediction, replacing an expensive pressure projection linked to a Poisson equation on the pressure, which is usually solved with iterative methods (PCG or Jacobi methods). We implemented our code with PyTorch, effectively replacing all the original Torch/Lua and C++/CUDA implementation of the inviscid, incompressible fluid solver (based on the open-source fluid simulator Mantaflow, aimed at the Computer Graphics community). Find the original FluidNet repository here.
We have retaken the original FluidNet NN architecture and added different features, such as replacing upsampling with deconvolution layers, or directly replacing the complete architecture with a deeper MultiScale net which showed more accurate results at the expense of inference speed.
This work allows to compare both the code perfomace when run in a single GPU unit and the accuracy of this data-driven method in comparison with tradional mehtods (Jacobi) or other fluid simulation methods like Lattice Boltzmann Methods.
Results
Simulations of a buoyancy-driven plume flow are performed with different methods for the Poisson equation resolution.
An inlet is placed at the bottom of the domain, where a lighter fluid (with density rho0) is injected with velocity v0
into a quiescent heavier fluid. Results show that some work is still needed to predict a correct plume growth rate, due
probably to a poor modelling of buoyant forces by the trained model.
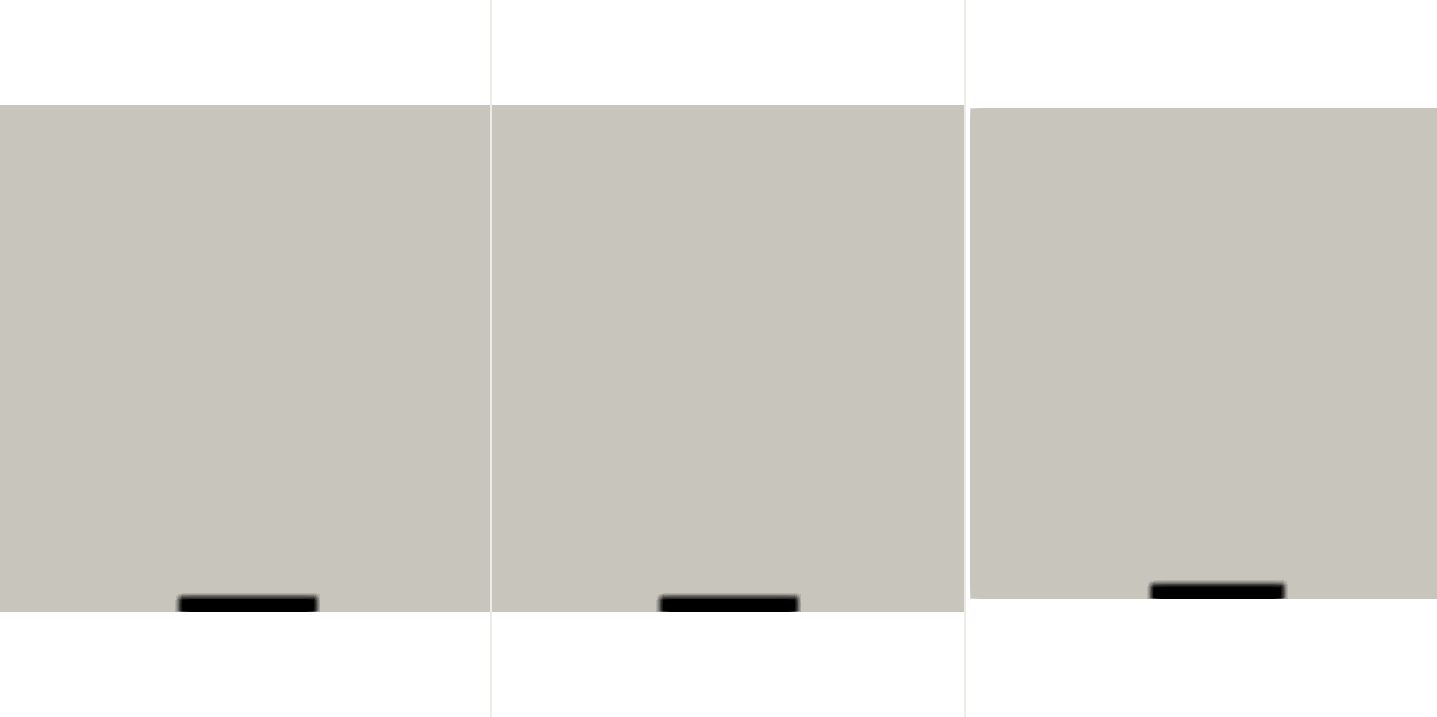
Resolution with ConvNet | Jacobi Method 28 iter | Jacobi Method 100 iter
Growth Rate of the plume's head for Ri=0.14
Functionalities:
- NOTE: For the moment, only 2D simulations and training are supported. 3D needs still some work.
- Full eulerian (incompressible and inviscid) fluid simulator:
- Momentum equation resolution using a splitting algorithm:
- Advection of velocity + External forces
- Enforcing of non-divergence of velocity constraint through Poisson equation resolution, resulting in a pressure gradient
that corrects the velocity from the previous step. Step replaced by a fully convolutional Neural Network with
divergence of velocity as input and pressure as output.
- Unconditional Stable MacCormack discretization of velocity advection algorithm.
- Jacobi method implementation for comparison.
- Momentum equation resolution using a splitting algorithm:
- Dataset:
- Generation with FluidNet own Mantaflow sript.
- Random insertion of objects and velocity emitters, as well as gravity forces.
- Pre-processed into PyTorch objects
- Pre-trained models:
- An already trained model is available in trained_models
- Training:
- Several options for loss function:
- MSE of pressure
- "Physical" loss: MSE of velocity divergence (unsupervised)
- MSE of velocity divergence after several timesteps.
- Short term divergence loss: 8 hours training
- Short+Long term divergence loss: ~2 days
- Several options for loss function:
- Inference. Two test cases:
- Buoyant plume.
- Rayleigh Taylor instability.
- Launch your simulation with the available pre-trained model.
- Comparison with Jacobi method resolution + LBM with open-sourced C++ library Palabos
- Results visualization:
- Matplotlib
- Paraview post-processing tool (VTK files)
Models
- Adapted FluidNet architecture
- Deep MultiScale adapted from Deep multi-scale video prediction beyond mean square error.
Requirements
- Python 3.X
- C++11
- Pytorch 0.4 (Including ATen Tensor library, exposing PyTorch library in C++)
- FluidNet own Mantaflow implementation
- PyVTK (pip install)
- (Optional) Paraview
- (Optional) OpenCV2
ATen allows to write generic code that works on both devices.
More information in ATen repo. It can be called from PyTorch, using its new extension-cpp.
Installation
To install this repo:
- Clone this repo:
https://github.com/jolibrain/fluidnet_cxx.git
-
Install Pytorch 0.4:
Pytorch 0.4
NOTE: Training is done in GPUs -
Install cpp extensions for fluid solver:
C++ scripts have been written using PyTorch's backend C++ library ATen.
These scripts are used for the advection part of the solver.
Follow these instructions from main directory:
cd pytorch/lib/fluid/cpp
python3 setup.py install # if you want to install it on local user, use --user
Training
Dataset
We use the same 2D dataset as the original FluidNet Section 1: Generating the data - Generating training data (generated with MantaFlow) for training our ConvNet.
Running the training
To train the model, go to pytorch folder:
cd pytorch
The dataset file structure should be located in <dataDir> folder with the following structure:
.
└── dataDir
    └── dataset
        ├── te
        └── tr
Precise the location of the dataset in pytorch/config.yaml writing the folder location at dataDir (use absolute paths).
Precise also dataset (name of the dataset), and output folder modelDirwhere the trained model and loss logs will be stored and the model name modelFilename.
Run the training :
python3 fluid_net_train.py
For a given dataset, a pre-processing operation must be performed to save it as PyTorch objects, easily loaded when training. This is done automatically if no preprocessing log is detected.
This process can take some time but it is necessary only once per dataset.
Training can be stopped using Ctrl+C and then resumed by running:
python3 fluid_net_train.py --resume
You can also monitor the loss during training by running in /pytorch
python3 plot_loss.py <modelDir> #For total training and validation losses
#or
python3 plot_5loss.py <modelDir> #For each of the losses (e.g: L1(div) and L2(div))
It is also possible to load the saved model and print its output fields and
compare it to targets (Pressure, Velocity, Divergence and Errors):
python3 print_output.py <modelDir> <modelFilename>
#example:
python3 print_output.py data/model_pLoss_L2 convModel
Training options
You can set the following options for training from the terminal command line:
-h: displays help message--trainingConf: YAML config file for training. Default = config.yaml.--modelDir: Output folder location for trained model. When resuming, reads from this location.--modelFilename: Model name.--dataDir: Dataset location.--resume: Resumes training from checkpoint inmodelDir--bsz: Batch size for training.--maxEpochs: Maximum number training epochs.--noShuffle: Remove dataset shuffle when training.--lr: Learning rate.--numWorkers: Number of parallel workers for dataset loading.--outMode: Training debug options. Prints or shows validation dataset.
save= saves plots to disk
show= shows plots in window during training
none= do nothing
The rest of the training parameters are set in the trainingConf file, by default config.yaml.
Parameters in the YAML config file are copied into a python dictionary and saved as two separated dictionaries in modelDir, one conf dictionary for parameters related to training (batch size, maximum number of epochs) and one mconf dictionary for parameters related to the model (inputs, losses, scaling options etc)
Test
Run the buoyant plume test case by running:
cd pytorch
python3 plume.py --modelDir <modelDir> --modelFilename <modelFilename> --outputFolder <outputFolder>
with:
<modelDir>: folder with trained model.<modelFilename>: Trained model name.<outputFolder>: Folder for saving simulation results.
You can also stop the simulation (Ctrl+C) and restart it afterwards:
python3 plume.py --restartSim
Test options
-h: displays help message--simConf: YAML config file for simulation. Default = plumeConfig.yaml.--trainingConf: YAML config file for training. Default = config.yaml.--modelDir: Trained model location.--modelFilename: Model name.--outputFolder: Location of output results.--restartSim: Restart simulation from checkpoint in<outputFolder>.
Check plumeConfig.yaml to see how the configuation file for the simulation is organized.
Modifying the NN architecture
If you want to try your own architecture, you only have to follow these simple rules:
- Write your model in a separate script and save it inside
pytorch/lib. - Open
model.pyand import your own script as a module. Go toclass FluidNet
here. - Ideally, as with the Multi-Scale Net example, you should just have to precise the number of channels from the input,
and add your net forward pass as in the multicale example
here
Extending the cpp code:
The cpp code, written with ATen library, can be compiled, tested and run on its own.
You will need OpenCV2 to visualize output of the pressure and velocity fields, as matplotlib is unfortunately not available in cpp!
Test
First, generate the test data from FluidNet
Section 3. Limitations of the current system - Unit Testing and write the location of your folder in:
solver_cpp/test/test_fluid.cpp
#define DATA <path_to_data>
Run the following commands:
cd solver_cpp/
mkdir build_test
cd build_test
cmake .. -DFLUID_TEST=ON # Default is OFF
./test/fluidnet_sim
This will test every routine of the solver (advection, divergence calculation, velocity
update, adding of gravity and buoyancy, linear system resolution with Jacobi method).
These tests are taken from FluidNet and compare outputs of Manta to ours, except for
advection when there is no Manta equivalent. In that case, we compare to the original
FluidNet advection.
Run
cd solver_cpp/
mkdir build
cd build
cmake .. -DFLUID_TEST=OFF # Default is OFF
./simulate/fluidnet_sim
Output images will be written in build folder, and can be converted into gif using
ImageMagick.
NOTE: For the moment, only 2D simulations and training are supported, as bugs are still
found for the 3D advection.


