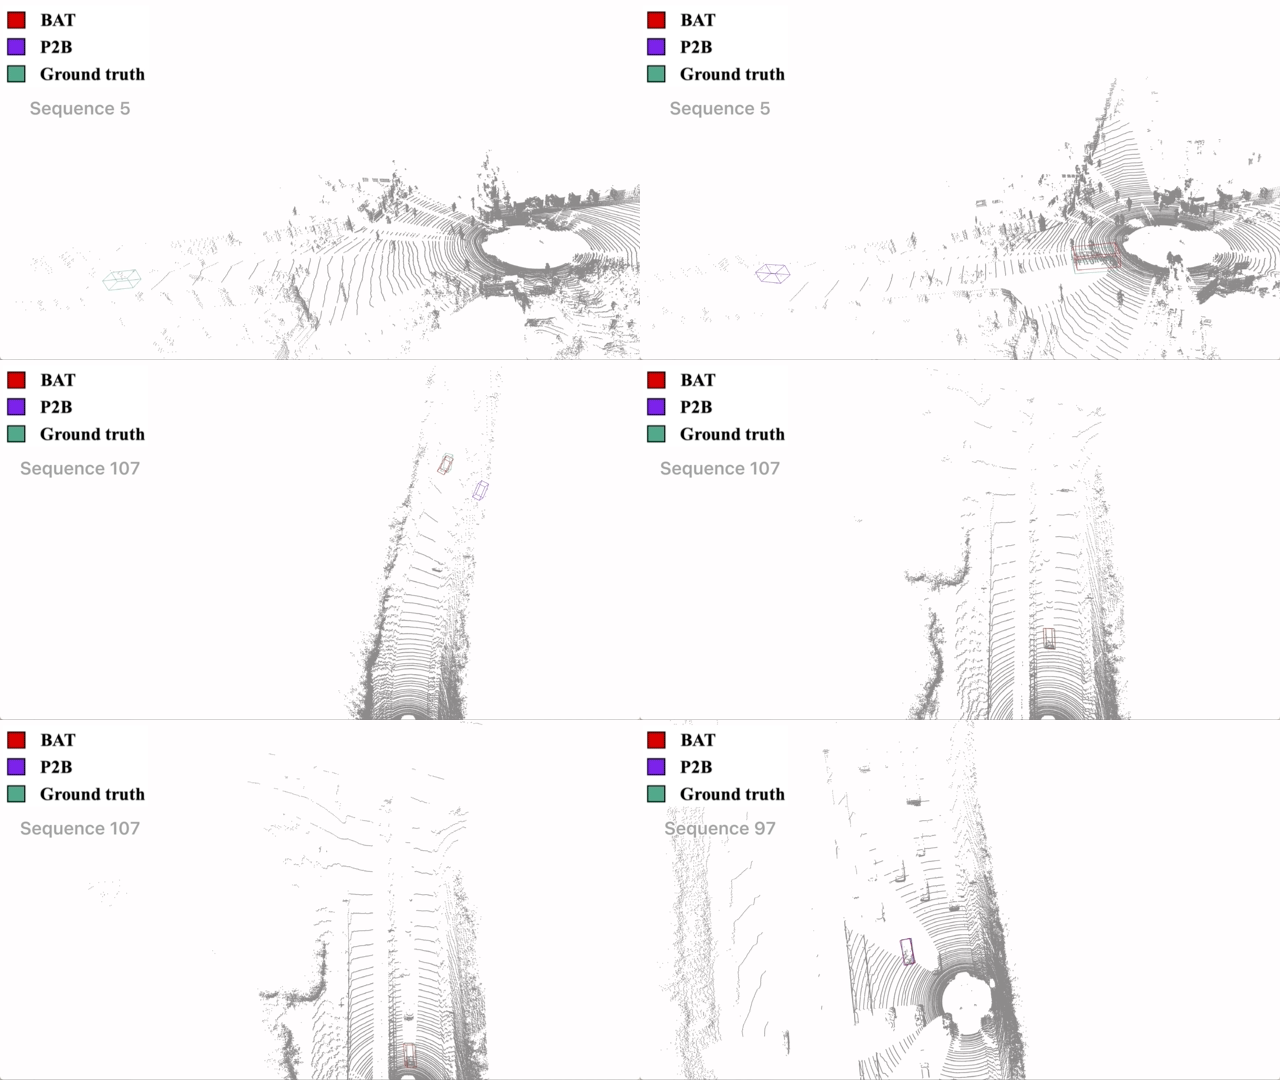
Box-Aware Tracker (BAT)
Pytorch-Lightning implementation of the Box-Aware Tracker.
Box-Aware Feature Enhancement for Single Object Tracking on Point Clouds. ICCV 2021
Chaoda Zheng, Xu Yan, Jiaotao Gao, Weibing Zhao, Wei Zhang, Zhen Li*, Shuguang Cui
Citation
@InProceedings{zheng2021box,
  title={Box-Aware Feature Enhancement for Single Object Tracking on Point Clouds},
  author={Chaoda Zheng, Xu Yan, Jiaotao Gao, Weibing Zhao, Wei Zhang, Zhen Li, Shuguang Cui},
  journal={ICCV},
  year={2021}
}
Features
- Modular design. It is easy to config the model and trainng/testing behaviors through just a
.yamlfile. - DDP support for both training and testing.
- Provide a 3rd party implementation of P2B.
Setup
Installation
-
Create the environment
git clone https://github.com/Ghostish/BAT.git cd BAT conda create -n bat python=3.6 conda activate bat -
Install pytorch
conda install pytorch==1.4.0 torchvision==0.5.0 cudatoolkit=10.1 -c pytorchOur code is well tested with pytorch 1.4.0 and CUDA 10.1. But other platforms may also work. Follow this to install another version of pytorch.
-
Install other dependencies
pip install -r requirement.txt
KITTI dataset
- Download the data for velodyne, calib and label_02 from KITTI Tracking.
- Unzip the downloaded files.
- Put the unzipped files under the same folder as following.
[Parent Folder]
--> [calib]
    --> {0000-0020}.txt
--> [label_02]
    --> {0000-0020}.txt
--> [velodyne]
    --> [0000-0020] folders with velodynes .bin files
Quick Start
Training
To train a model, you must specify the .yaml file with --cfg argument. The .yaml file contains all the configurations of the dataset and the model. Currently, we provide three .yaml files under the cfgs directory. Note: Before running the code, you will need to edit the .yaml file by setting the path argument as the correct root of the dataset.
python main.py --gpu 0 1 --cfg cfgs/BAT_Car.yaml --batch_size 50 --epoch 60
After you start training, you can start Tensorboard to monitor the training process:
tensorboard --logdir=./ --port=6006
By default, the trainer runs a full evaluation on the full test split after training every epoch. You can set --check_val_every_n_epoch to a larger number to speed up the training.
Testing
To test a trained model, specify the checkpoint location with --checkpoint argument and send the --test flag to the command.
python main.py --gpu 0 1 --cfg cfgs/BAT_Car.yaml --checkpoint /path/to/checkpoint/xxx.ckpt --test
Reproduction
This codebase produces better results than those we report in our original paper.
| Model | Category | Success | Precision | Checkpoint |
|---|---|---|---|---|
| BAT | Car | 65.37 | 78.88 | pretrained_models/bat_kitti_car.ckpt |
| BAT | Pedestrian | 45.74 | 74.53 | pretrained_models/bat_kitti_pedestrian.ckpt |
Two Trained BAT models for KITTI dataset are provided in the pretrained_models directory. To reproduce the results, simply run the code with the corresponding .yaml file and checkpoint. For example, to reproduce the tracking results on Car, just run:
python main.py --gpu 0 1 --cfg cfgs/BAT_Car.yaml --checkpoint ./pretrained_models/bat_kitti_car.ckpt --test
To-dos
- DDP support
- Multi-gpus testing
- Add NuScenes dataset
- Add codes for visualization
- Add support for more methods
Acknowledgment
- This repo is built upon P2B and SC3D.
- Thank Erik Wijmans for his pytorch implementation of PointNet++
License
This repository is released under MIT License (see LICENSE file for details).


